All Categories
Featured
Table of Contents
- – Rv Solar Panel Installation Anaheim, CA
- – OCRV Center
- – Rv Repair Service Near Me Anaheim, CA
- – Rv Repair Centers Near Me Anaheim, CA
- – Rv Repair Centers Near Me Anaheim, CA
- – Rv Mechanics Near Me Anaheim, CA
- – Rv Delamination Repair Near Me Anaheim, CA
- – Rv Delamination Repair Near Me Anaheim, CA
- – Motorhome Service And Repair Near Me Anaheim...
- – Rv Solar Panel Installation Anaheim, CA
- – Rv Repair Services Near Me Anaheim, CA
- – Rv Plumbing Repair Near Me Anaheim, CA
- – Rv Repair And Service Near Me Anaheim, CA
- – Motorhome Repair Shops Anaheim, CA
- – OCRV Center
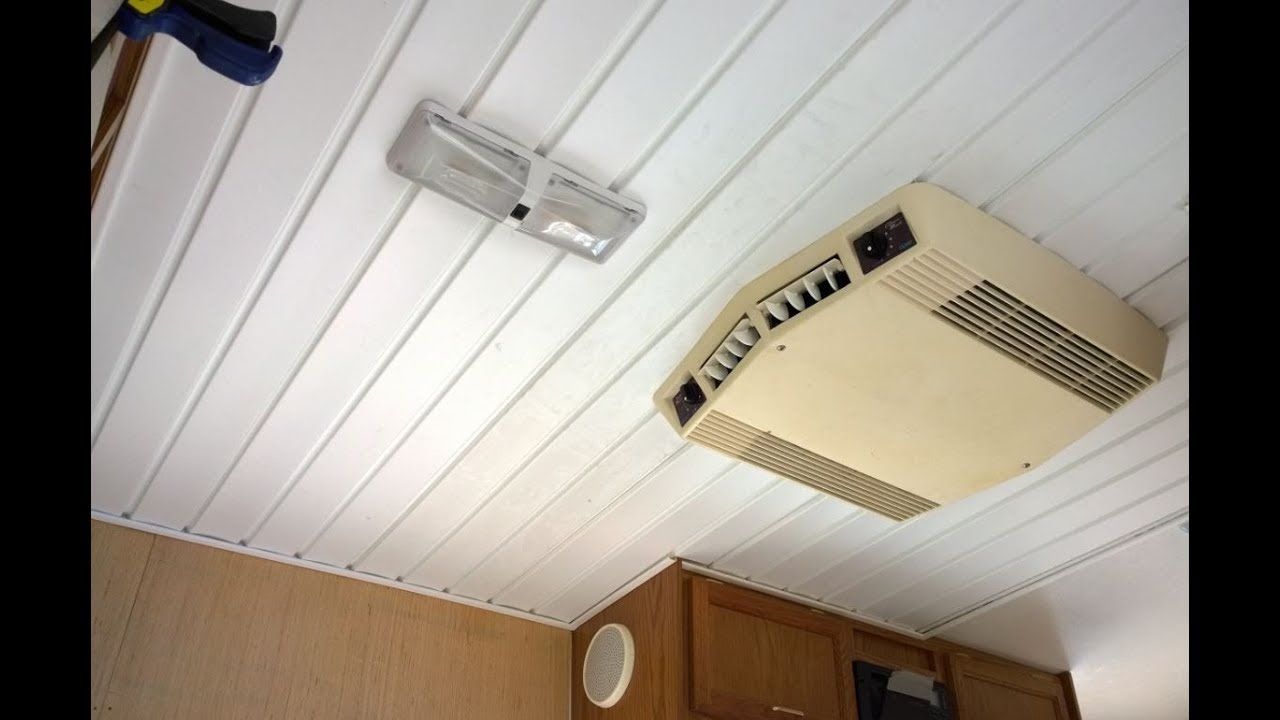
Rv Solar Panel Installation Anaheim, CA
Epoxy was put right into mold and mildews on the ground before being set up on the ceiling. The rest of the ceiling was repainted "Iron Ore" in color and LED rope lights and light wood trim were added.
Image Credit Rating: Kento Eyre In this Recreational vehicle refurbished by the pros at Wayland Ventures, easy stained 2x6s create beam of lights that run across the ceiling.!! To cover up the naturally bent roof of the bus, proprietor Andy mounted timber paneling throughout sections of his Motor home ceiling.
This Argosy remodelling used decorative ceiling tiles like this to create a stunning ceiling. Photo Credit History Terri Closs Right Here is what the owner, Terri, had to state about this ceiling! "Tin ceilings are notoriously hefty. We desired the appearance but really did not desire the weight so we select 2' x 4' plastic, glue-up panels in a Victorian style.
Rv Repair Service Near Me Anaheim, CA
"That ceiling tile was mounted by timber molding down the length of the trailer with a versatile resin molding complying with the curve of the ceiling. Setup was a difficulty. How do you hold these ceiling tiles in position while the glue dries out? Option: you make use of a fantastic several versatile wood spring poles to pin each item to the ceiling while it dries out.
For an additional straightforward ceiling renovation, think about including components like a ceiling follower or a beautiful light fixture. This can add both elegance and feature to your ceiling. Photo Credit scores: kevinodonnell143 You can utilize any type of sort of residential light in a recreational vehicle as long as it is properly set up.
Picture Debt: Camp Revival Would you renovate your motor home ceiling? Go down a comment and share which of these layouts is your favorite! Alyssa Padgett is the author of the very successful publication, A Newbie's Guide to Staying in a motor home. She enjoys all things #RVlife and travels full time around the world with her family of four.
Rv Repair Centers Near Me Anaheim, CA
Still that will give all the rain defense I require to maintain the roofing system completely dry. Plus I'll still obtain good light and air flow and room to relocate ladders and materials around. Right here is my motor home cover with the sidewall enclosure kit installed. Prepared for rain! You'll notice the sidewalls are white while my initial canopy is tan.
This keeps water streaming off in reverse while driving, as opposed to having the propensity to blow under any kind of joints. The most crucial searching for was that the. This develops a lamination effect (like glue between layers of plywood) that creates a solitary rigid framework. It is taking into consideration exactly how slim the plywood is on both sides! Prior to I started uncoupling the roof I can jump about on it and feel no flex.
This indicates that in order to maintain a solid and light-weight roofing,. Possibly your Recreational vehicle is made with wood 24 roof covering framing rafters and has thicker plywood decking on top.
Rv Repair Centers Near Me Anaheim, CA
Currently that I can see exactly how the roofing system of the RV is built and the degree of the water damages, I have some crucial decisions to make concerning just how to continue with my RV renovation. It's time to make a video game plan for my Motor home remodel!
Yet yet And lastly, I have to figure out the, so I don't repair something and after that have to undo it later for the following fixing. Remodeling jobs are like a video game of chess; you need to anticipate 10 moves in advance to avoid screwing on your own along the road.
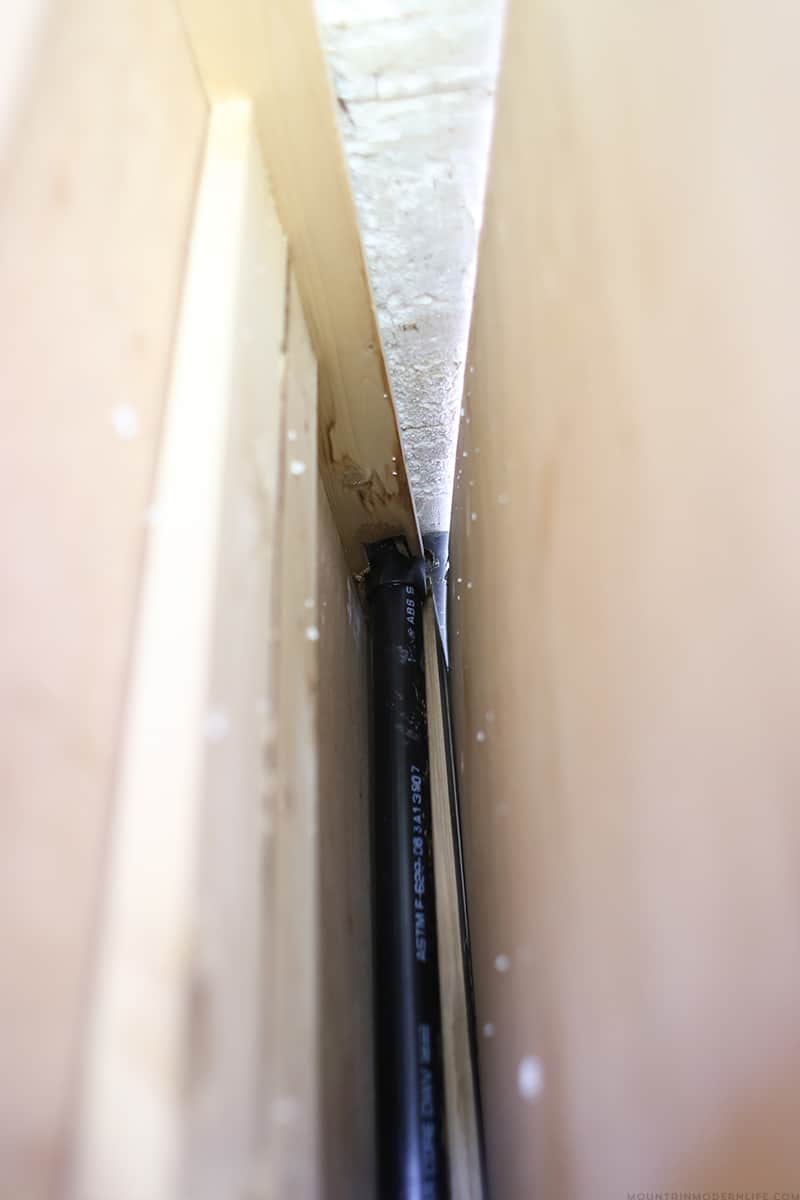
I can tell since the grooves cut into the styrofoam for circuitry go to the top of the foam and would certainly have been impossible if the roofing system was currently on. So if I replace the roofing system first and afterwards wish to transform some circuitry in the ceiling later, how would certainly I get to it? (I would possibly wind up putting awful surface-mounted electrical wiring tracks in. Rv Repair Centers Near Me Anaheim.) One more series issue is whether to do the? I can see that the curved fiberglass panel on top of the over head bunk area overlaps the roof covering outdoor decking and the rubber roof.
Rv Mechanics Near Me Anaheim, CA
This seems like an insane choice to me and method a lot more work than needed, but it is still a choice, particularly if the water damage in your RV is much more substantial than mine. This would call for, and potentially (like the shower room wall surface and storage room wall surfaces) yet leaving all the metal roof mounting in position.
After that position brand-new layer of EPDM rubber roofing on top. This would certainly most very closely re-create the original high quality of the manufacture, would be the lightest possible repair work and the toughest roof covering lamination. A significant amount of job, taking apart cupboards and indoor wall surfaces, along with a great deal of getting rid of electrical wiring and fixtures.
PUT An AESTHETIC LAYER OVER CEILING, SECOND LAYER OF ROOFING SYSTEM PLY. This would be the easiest choice, just cut pieces of slim paneling to cover the whole ceiling (without getting rid of cupboards or wall surfaces).
Most affordable, most convenient, fastest. Will look equally as good inside as really replacing all the ceiling ply Heavier since includes several layers of ceiling paneling and roof covering paneling. Less toughness since there will certainly still be some peeled areas of ceiling and roofing system decking. Most awful of all, I would certainly be capturing in rotten wood in the ceiling that might be growing mold.
Rv Delamination Repair Near Me Anaheim, CA
I believe somewhere in between these two extremes may be my best option. I might replace all the 1/8 roofing system paneling with complete sheets and glue it in addition to feasible for a complete toughness roof covering, complied with by brand-new EPDM roof covering. For the interior ceiling I would meticulously reduce out sections of the ceiling plywood that had water damage and came unglued from the foam insulation, and change them with thoroughly matched items of the same density 1/8 luan plywood, and adhesive them to the foam as best I can.
Because there would certainly be a practical yet crappy-looking patchwork of ceiling paneling in area, I would put a slim cosmetic layer of paneling over the ceiling between the cabinets in the living area. I could choose an attractive aged-wood or bead-board paneling that would look adorable. I could either adhesive it approximately boost lamination strength, or utilize detachable fasteners in case I intend to place electrical wiring or components inside the ceiling later.
Rv Delamination Repair Near Me Anaheim, CA
But at the very least this will get me going. OK, let's obtain back to it! Following I'm going to remove the damaged wood from the roofing..
JimI can not envision why there would be wrinkles on the ceiling. I assumed the ceiling panels were like paneling with a glued on coating on one side. Seeing wrinkles I might only think of a dripping roof covering somewhere.
Motorhome Service And Repair Near Me Anaheim, CA
Disclaimer: This message might contain associate links, meaning, if you click through and purchase we (or those featured in this article) might make a commission at no added cost to you. View our full-disclosure here. One of the biggest jobs we dealt with last month was setting up the new ceiling panel in the RV.
As you may recognize, a few months after we purchased our motor home in 2014, we discovered a water leakage being available in via the skylight. This actually freaked us out due to the fact that while we were intending to refurbish our motorhome, we hadn't intended on taking on such a complicated job. We're simply delighted we discovered it before we began any huge tasks.
Rv Solar Panel Installation Anaheim, CA

You can learn more about that below. We had actually invested a fair bit of time cleaning up the damage, re-caulking whatever to stop future water concerns, and mounting the new skylight. However, the substantial ceiling panel we had actually to have actually delivered on a products vehicle simply rested in our garage for months daunting us whenever we walked past it.
There was whole lots of measuring, after that re-measuring, after that re-measuring again before cuts were made, and there may have been a number of swear words also Abraham of The Walking Dead would certainly be pleased of. Eric was a champ and did many of the hard work so I'll allow him explain just how we replaced our ceiling panel.
We are not professionals and changed our ceiling panel to the most effective of our ability with the guidance of our producer. Just like any kind of motor home task we suggest you talk to your supplier for ideal practices, in this manner you will at the minimum obtain information right from the horse's mouth in a manner of speaking.
Keeping that claimed we wish the details below is practical for you and your job. You can enjoy our brief video listed below: Once we realized we had water coming in with our shower room skylight we immediately placed a tarp over the roof and called Tiffin, our RV manufacturer. They were really helpful in walking us with how we might set about replacing the panel, yet there is just a lot you can do over the phone.
Rv Repair Services Near Me Anaheim, CA
Leave all of the walls and furniture in place and reduced the brand-new ceiling panel into different pieces, after that placed them in area. Take out all of the wall surfaces and closets then put the brand-new ceiling panel in area as an entire sheet.
I had not been a large follower of cutting the panel into numerous pieces and fitting them around the wall surfaces that were in location. I couldn't convince myself it was the very best option, it may have quite possibly been the easiest, yet I felt either of the other alternatives would certainly be extra secure.
Rv Plumbing Repair Near Me Anaheim, CA
As we stood back and looked we determined it was mosting likely to be best to get rid of the wall surfaces and totally replace the panel in its whole. Once we got to the major kitchen area wall surface (the wall surface still up in the picture above) we struck a number of grabs, namely the water heating system, and heater were both set up versus the wall surface in the reduced cooking area cabinets.
When checking out our ceiling with the old panel eliminated we recognized we had 2 walls that might basically cover both the cuts we would certainly have to make. One wall surface being the major cooking area wall, the various other being the hallway/bathroom wall. Side-Note: We knew we would certainly not be getting rid of the kitchen wall, nevertheless, we assumed we may have the ability to glide the brand-new panel (still unharmed) over the wall while it was still in location.
We determined to make both cuts. I went ahead and determined the distance from the edge of the panel to the center of the kitchen area wall (guaranteeing the cut would certainly be concealed under the wall surface). I likewise selected to do this since the wall surface would certainly help act as a support for both pieces of paneling we would certainly have after the cuts.
The exact same thinking behind this cut as the various other, to ensure when the hallway wall surface was returned in position it would certainly align directly with the cut we made in the ceiling panel. (in the above image you can see that the panel goes below the cooking area wall surface, developing assistance while additionally hiding the cut we made) So now we have 2 pieces of the paneling and we know where they are mosting likely to go, yet what regarding the vents, skylight opening, and cords that need ahead through the ceiling panel? It is best to obtain those areas measured and pre-drilled prior to you place the panel up.
Rv Repair And Service Near Me Anaheim, CA
Rather than disconnecting the cords, I made a simple cut with my circular saw to the pre-drilled hole so that I can move the cords right into location. You may intend to separate the cables first, and that would be flawlessly great, I would say utilize your finest judgment and do what seems right to you.
I did this to ensure that I might put the panel up and ensure my marks were appropriate with the idea that if they were incorrect I could then make use of the best dimension bit and right one method or another if necessary. Good luck was on my side and all the measurements were appropriate.
For the air vent covers and skylight openings, I used a drill bit large sufficient to enable my JigSaw blade in. I chose to obtain the panel in position and safeguarded prior to eliminating the bigger openings, I did this because I really did not intend to pre-cut after that concern discover it had not been aligned appropriately.
Motorhome Repair Shops Anaheim, CA
Prior to we put the adhesive on and placed the panels we in fact required to cut a really small of the edges off. Once we had actually that achieved the panels slid up right into position, and we recognized they would fit. We took our spray adhesive and covered both the ceiling and timber support of the panel, gave it a minute to come to be tacky then pushed the two assemble.
Rv Mechanics Near Me Anaheim, CABest Rv Repair Near Me Anaheim, CA
Motorhome Repair Service Anaheim, CA
Motorhome Repair Near Me Anaheim, CA
Rv Repairs Near Me Anaheim, CA
Motorhome Refrigerator Repair Anaheim, CA
Motorhome Refrigerator Repair Anaheim, CA
Motorhome Repair Service Anaheim, CA
Rv Repair Services Near Me Anaheim, CA
Rv Plumbing Repair Near Me Anaheim, CA
Rv Solar Installation Anaheim, CA
Rv Repair Shops Near My Location Anaheim, CA
Camper Ac Repair Near Me Anaheim, CA
Motorhome Awning Repair Anaheim, CA
Rv Mechanics Near Me Anaheim, CA
Best Rv Repair Near Me Anaheim, CA
Rv Repair In My Area Anaheim, CA
Motorhome Awning Repair Anaheim, CA
Rv Delamination Repair Near Me Anaheim, CA
Rv Mechanics Near Me Anaheim, CA
Rv Delamination Repair Near Me Anaheim, CA
Rv Repair Services Near Me Anaheim, CA
Full Service Rv Repair Near Me Anaheim, CA
Rv Mechanics Near Me Anaheim, CA
Rv Repair Shops Near My Location Anaheim, CA
Motorhome Service And Repair Near Me Anaheim, CA
Motorhome Generator Repair Near Me Anaheim, CA
Rv Solar Installation Anaheim, CA
Rv Floor Repair Near Me Anaheim, CA
Rv Repair Services Near Me Anaheim, CA
Full Service Rv Repair Near Me Anaheim, CA
Full Service Rv Repair Near Me Anaheim, CA
Rv Solar Installation Anaheim, CA
Best Rv Repair Near Me Anaheim, CA
Motorhome Generator Repair Near Me Anaheim, CA
Rv Delamination Repair Near Me Anaheim, CA
Full Service Rv Repair Near Me Anaheim, CA
Best Rv Repair Near Me Anaheim, CA
Camper Ac Repair Near Me Anaheim, CA
Rv Generator Repair Anaheim, CA
Rv Plumbing Repair Near Me Anaheim, CA
Full Service Rv Repair Near Me Anaheim, CA
Motorhome Awning Repair Anaheim, CA
Rv Solar Installation Anaheim, CA
Motorhome Repair Shops Anaheim, CA
Rv Refrigerator Repair Near Me Anaheim, CA
Rv Solar Panel Installation Anaheim, CA
Motorhome Generator Repair Near Me Anaheim, CA
Rv Repair Centers Near Me Anaheim, CA
Full Service Rv Repair Near Me Anaheim, CA
Rv Repair And Service Near Me Anaheim, CA
Camper Ac Repair Near Me Anaheim, CA
Rv Service And Repair Near Me Anaheim, CA
Rv Mechanics Near Me Anaheim, CA
Motorhome Refrigerator Repair Anaheim, CA
Rv Repair Places Near Me Anaheim, CA
Motorhome Repair Shop Anaheim, CA
Rv Floor Repair Near Me Anaheim, CA
Rv Plumbing Repair Near Me Anaheim, CA
Motorhome Repair Shops Anaheim, CA
Rv Solar Panel Installation Anaheim, CA
Rv Repair Centers Near Me Anaheim, CA
Camper Ac Repair Near Me Anaheim, CA
Rv Service Repair Near Me Anaheim, CA
Rv Repair Centers Near Me Anaheim, CA
Motorhome Service And Repair Near Me Anaheim, CA
Rv Repair Places Near Me Anaheim, CA
Rv Repair Services Near Me Anaheim, CA
Camper Ac Repair Near Me Anaheim, CA
Motorhome Awning Repair Anaheim, CA
Rv Repair Centers Near Me Anaheim, CA
Motorhome Repair Shop Anaheim, CA
Rv Generator Repair Anaheim, CA
Rv Repair Shops Near My Location Anaheim, CA
Rv Service And Repair Near Me Anaheim, CA
Rv Repair And Service Near Me Anaheim, CA
Motorhome Refrigerator Repair Anaheim, CA
Rv Repair Centers Near Me Anaheim, CA
Close By Seo For Small Business Anaheim, CA
Near Seo Companies Anaheim, CA
OCRV Center
Table of Contents
- – Rv Solar Panel Installation Anaheim, CA
- – OCRV Center
- – Rv Repair Service Near Me Anaheim, CA
- – Rv Repair Centers Near Me Anaheim, CA
- – Rv Repair Centers Near Me Anaheim, CA
- – Rv Mechanics Near Me Anaheim, CA
- – Rv Delamination Repair Near Me Anaheim, CA
- – Rv Delamination Repair Near Me Anaheim, CA
- – Motorhome Service And Repair Near Me Anaheim...
- – Rv Solar Panel Installation Anaheim, CA
- – Rv Repair Services Near Me Anaheim, CA
- – Rv Plumbing Repair Near Me Anaheim, CA
- – Rv Repair And Service Near Me Anaheim, CA
- – Motorhome Repair Shops Anaheim, CA
- – OCRV Center
Latest Posts
Best Dental Insurance Seniors Garden Grove
Family Plan Life Insurance Yorba Linda
Local Internet Marketing Consultant Diamond Bar
More
Latest Posts
Best Dental Insurance Seniors Garden Grove
Family Plan Life Insurance Yorba Linda
Local Internet Marketing Consultant Diamond Bar