All Categories
Featured
Table of Contents
- – Rv Paint East Irvine, CA
- – OCRV Center
- – Motorhome Paint Shops East Irvine, CA
- – Motorhome Custom Paint Jobs East Irvine, CA
- – Rv Paint And Repair East Irvine, CA
- – Class A Rv Custom Paint And Repair East Irvin...
- – Rv Paint Shops Near Me East Irvine, CA
- – Rv Painter East Irvine, CA
- – Painting Rv Exterior East Irvine, CA
- – Motorhome Painting East Irvine, CA
- – Rv Painting Near Me East Irvine, CA
- – Motorhome Painting Near Me East Irvine, CA
- – Rv Painting Near Me East Irvine, CA
- – Custom Rv Paint Jobs East Irvine, CA
- – Rv Painting Near Me East Irvine, CA
- – OCRV Center
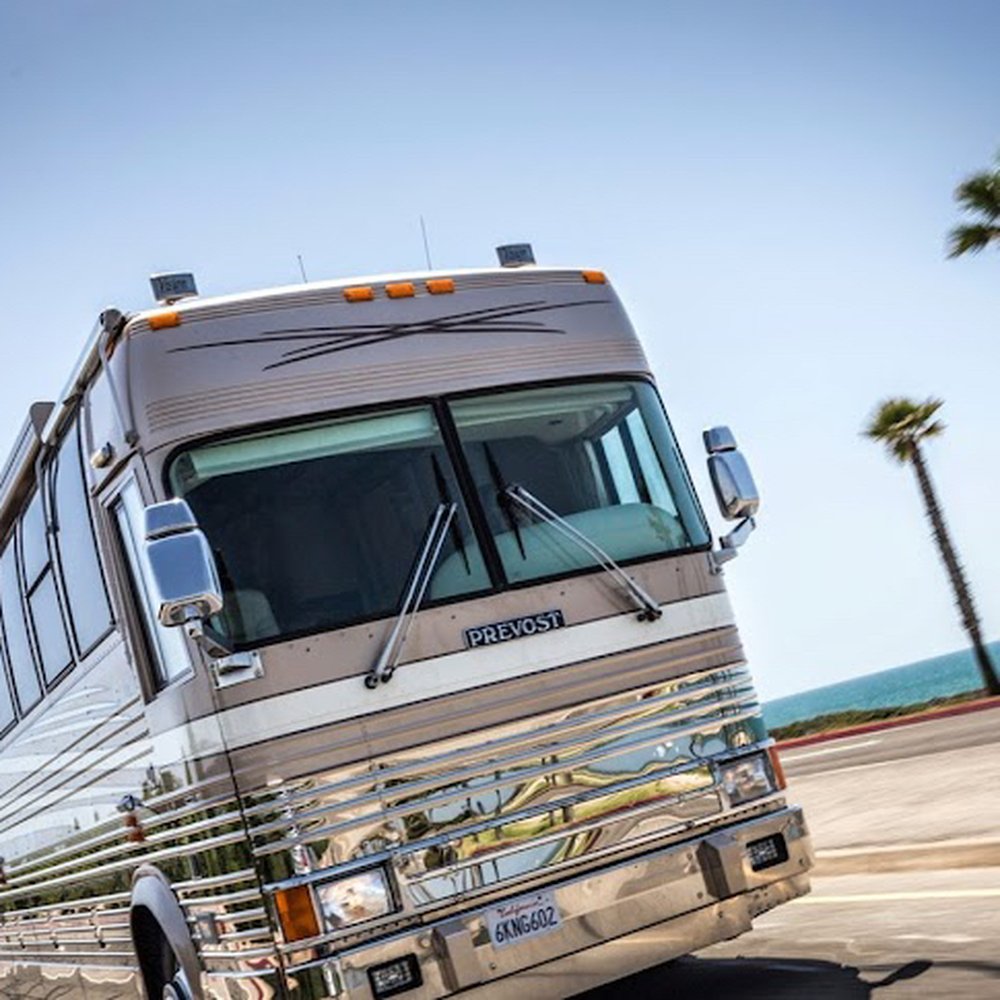
Rv Paint East Irvine, CA
We have actually made every initiative to ensure precision in the information supplied. New device digital photography for picture objectives only. Specifications, equipment, technical information, photos and images are based upon info available at time of uploading and undergo alter without notice. Supply and floorplans differ by location, not all promoted producers readily available at taking part suppliers.
May not be integrated with any kind of other offer and not applicable to prior sales. Deal(s) legitimate at any Outdoor camping Globe RV Sales or FreedomRoads supplier just. See supplier for information.
Choice to offer a Motor home no matter of price is only identified by the marketing dealer. * Ideal deal or $1,000 - deal needs to be in creating and obtained from a licensed Motor home dealer.
To get guaranteed trade-in value and/or assessment, vehicle has to be in exact same or substantially the very same problem it was in at time of deal. All offers are subject to inspection.
Motorhome Paint Shops East Irvine, CA
Consumer has to present legitimate buyers order authorized by management of completing dealership and appropriate paperwork outlining design year, make, brand name, version, options, specifications, shades, and vin # of promoted device. Customers order legitimate for 30 days from time of compose up. Completing dealer will certainly be any kind of certified RV dealership as acknowledged by the State in which the dealership operates and is not a Camping Globe Motor Home Sales or FreedomRoads supplier.
See dealer for information. Not valid in California.
Take a look at our previous motorhome paint and body work, and set up an appointment with us today to! At our store, we supply and repair services for both mechanized and towable trains, consisting of and repairs. It is necessary to note that in some motorhomes, the windshield ought to be resealed every couple of years to preserve a water tight gasket.
Motorhome Custom Paint Jobs East Irvine, CA
Valid only at participating Outdoor camping WORLD areas. See dealership for details. Federal government costs, state tax obligations, supplier costs and discharges screening costs as suitable will certainly be included to conform with state vehicle codes.
We have actually made every effort to make sure accuracy in the details offered. New device photography for illustration functions just. Specs, devices, technical information, pictures and images are based upon details offered at time of posting and undergo change without notification. Supply and floorplans vary by area, not all advertised suppliers available at participating suppliers.

Might not be combined with any other offer and not relevant to prior sales. Deal(s) valid at any Camping World Recreational Vehicle Sales or FreedomRoads dealer only. See dealership for details.
Rv Paint And Repair East Irvine, CA
Choice to offer a Motor home no matter of rate is solely identified by the selling supplier. * Finest offer or $1,000 - offer needs to be in writing and gotten from a qualified Motor home dealership.
To get guaranteed trade-in worth and/or appraisal, automobile must be in same or substantially the exact same condition it was in at time of offer. All offers are subject to assessment. $1,000 money will certainly be tendered in the type of money, check, or money order. Not valid in LA or OR.
Class A Rv Custom Paint And Repair East Irvine, CA
Consumer needs to provide valid buyers order authorized by management of contending dealer and proper documentation describing version year, make, brand name, version, options, specifications, colors, and vin # of promoted system. Customers order legitimate for thirty days from time of write. Completing supplier will be any type of licensed recreational vehicle dealership as recognized by the State in which the dealership operates and is not a Camping Globe Recreational Vehicle Sales or FreedomRoads dealer.
See dealership for information. Not valid in The golden state.
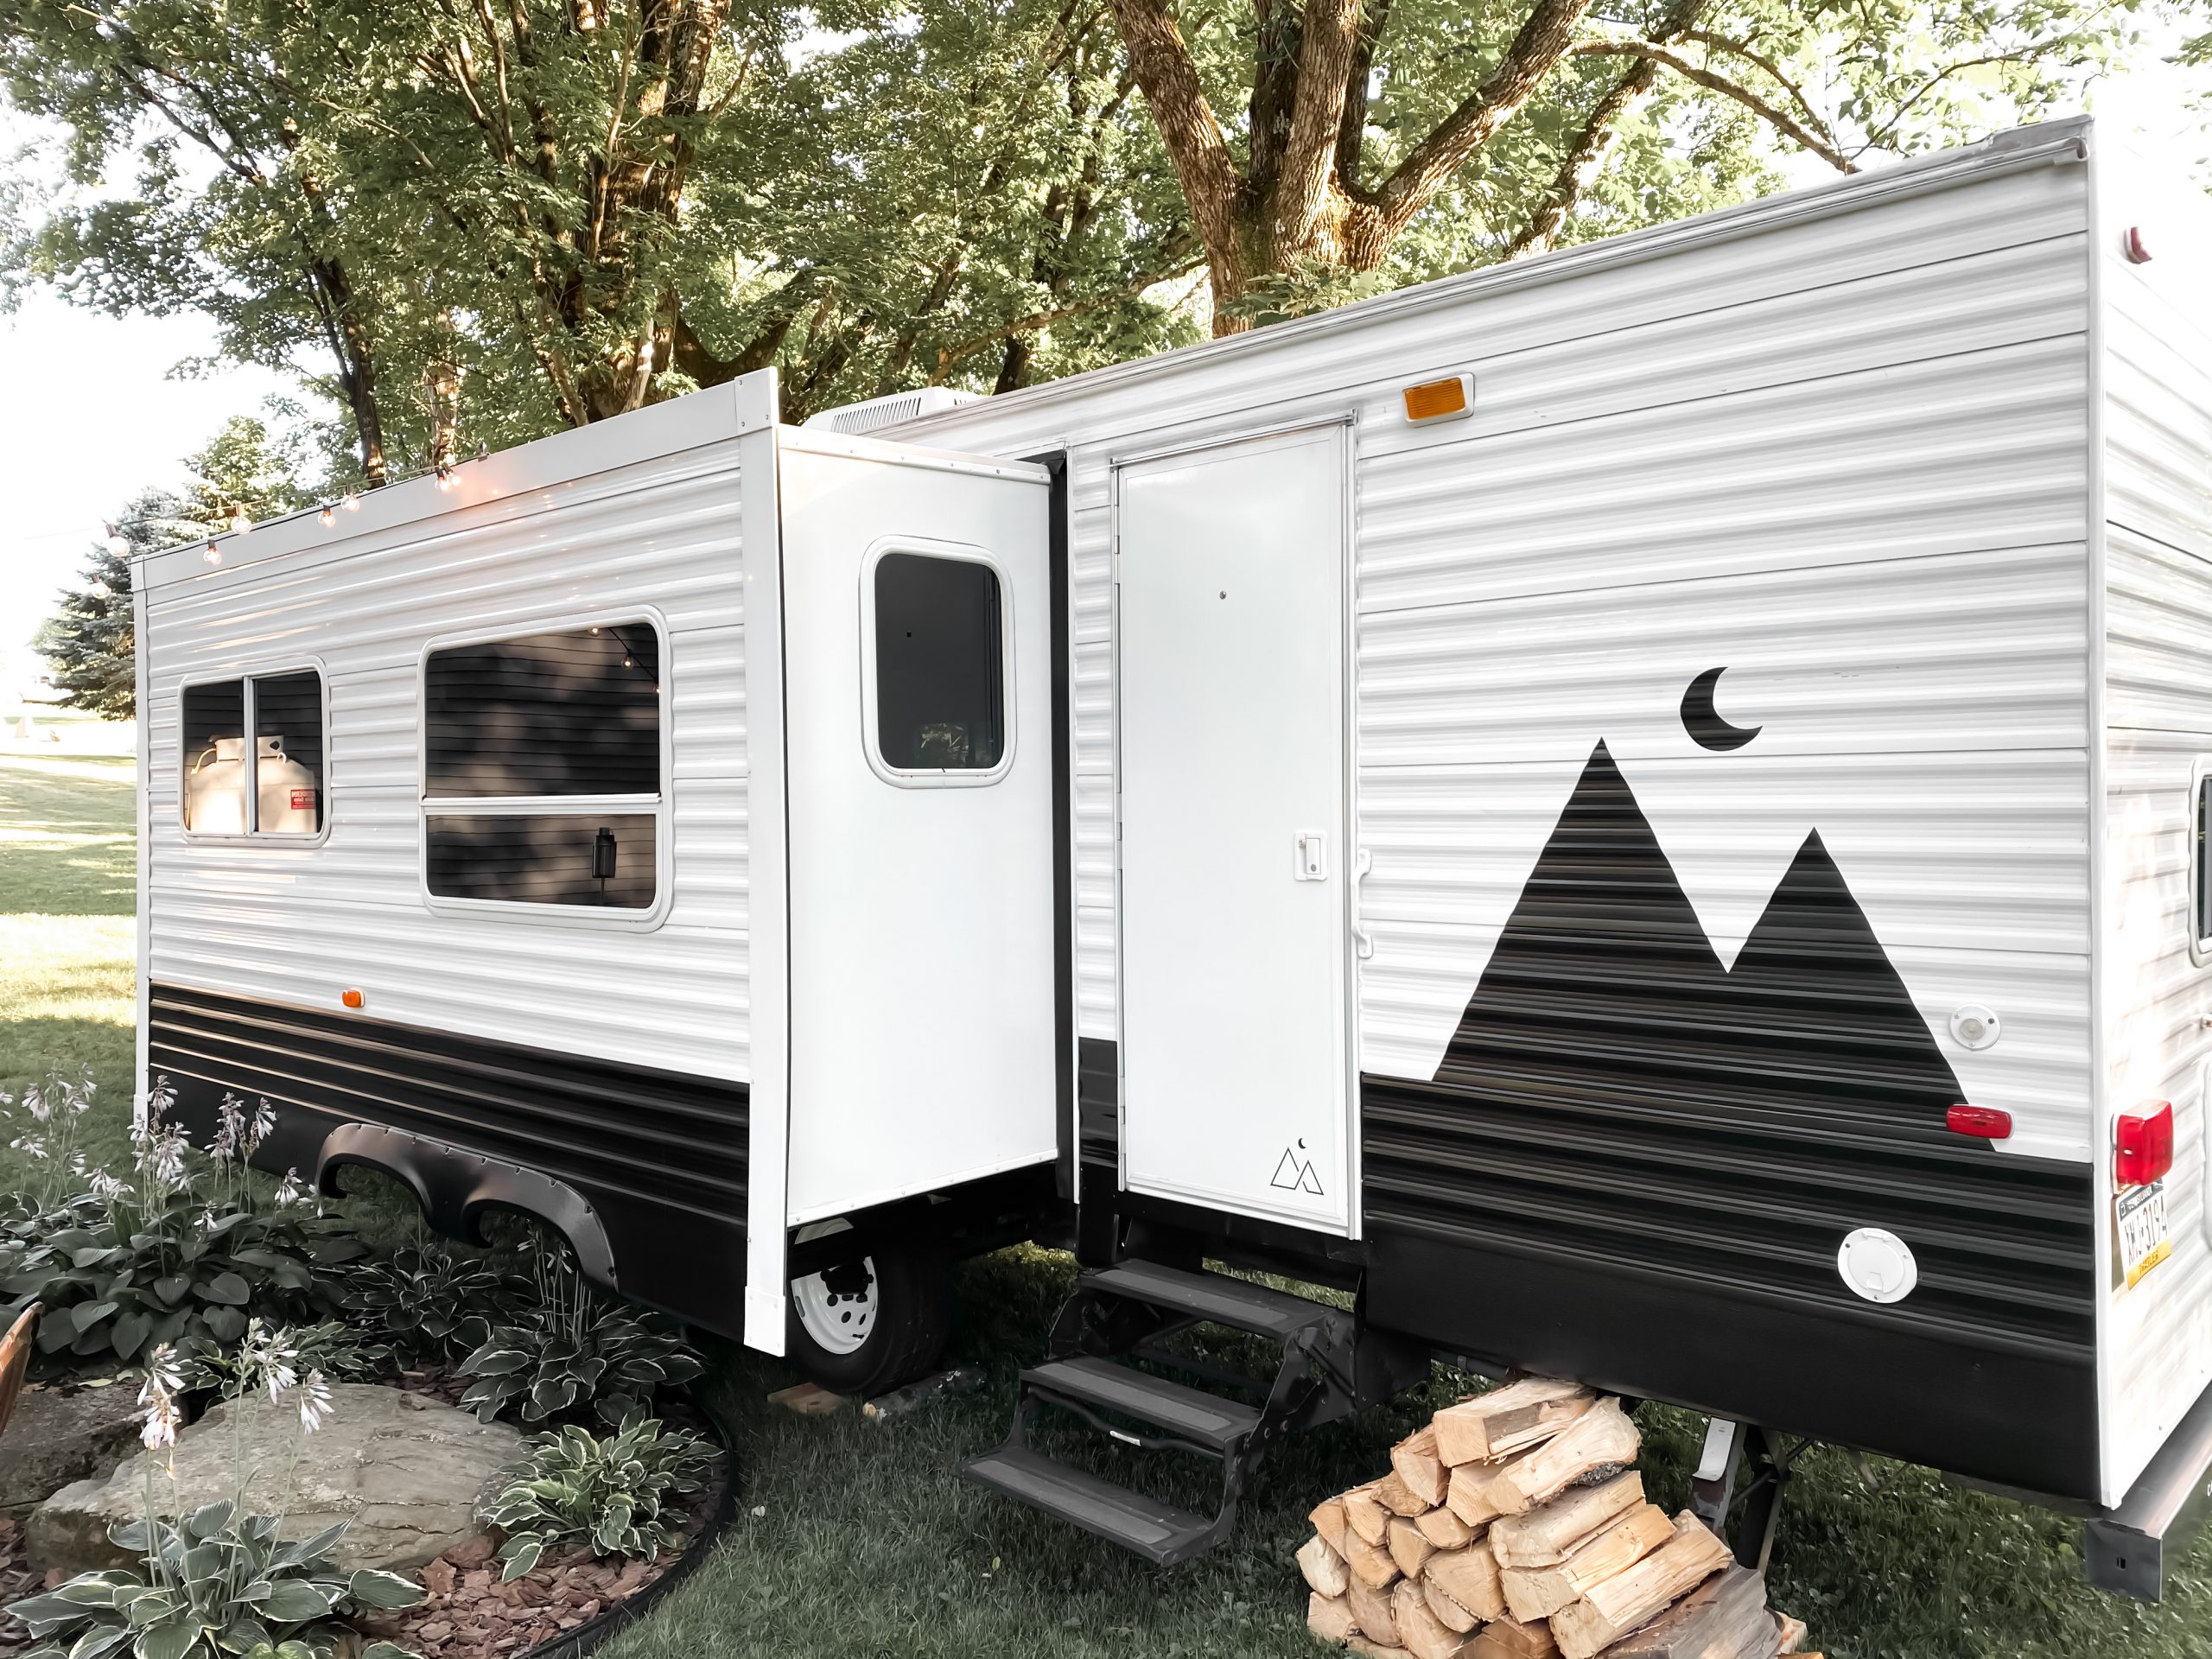
Look into our previous motorhome paint and body jobs, and arrange an appointment with us today to! At our store, we provide and repair solutions for both motorized and towable trainers, including and fixings. It's essential to keep in mind that in some motorhomes, the windshield should be resealed every few years to maintain a leak-proof gasket.
Valid only at taking part CAMPING Globe areas. See dealership for details. Federal government charges, state tax obligations, dealer charges and emissions screening charges as applicable will be included to conform with state car codes.
Rv Paint Shops Near Me East Irvine, CA
We have made every effort to make sure accuracy in the details given. New system digital photography for image objectives just. Specifications, devices, technical data, photos and pictures are based upon info readily available sometimes of uploading and undergo alter without notice. Supply and floorplans differ by location, not all advertised manufacturers readily available at taking part dealers.
May not be combined with any type of various other offer and not relevant to previous sales. Deal(s) valid at any Camping World Motor Home Sales or FreedomRoads dealer only. See dealership for information.
Decision to market a Recreational vehicle regardless of price is entirely identified by the selling supplier. * Best offer or $1,000 - deal needs to be in writing and obtained from a certified Recreational vehicle dealer.
To obtain guaranteed trade-in value and/or evaluation, automobile must remain in exact same or substantially the same condition it was in at time of deal. All deals undergo examination. $1,000 cash will be tendered in the kind of cash, check, or cash order. Not valid in LA or OR.
Rv Painter East Irvine, CA
Customer must present valid purchasers order authorized by management of completing supplier and proper documents detailing design year, make, brand name, version, choices, specifications, shades, and vin # of advertised device. Customers order legitimate for thirty day from time of write. Competing supplier will certainly be any kind of licensed motor home car dealership as acknowledged by the State in which the supplier operates and is not an Outdoor Camping Globe RV Sales or FreedomRoads supplier.
Any kind of applicable trade-in must be disclosed and given for appraisal at time of request. Not relevant to previous sales. See dealership for information. Not valid in The golden state. Gap where banned.
Look into our previous motorhome paint and body work, and set up an appointment with us today to! At our shop, we supply and fix services for both motorized and towable instructors, including and repair services. It's vital to keep in mind that in some motorhomes, the windshield needs to be resealed every couple of years to maintain a leak-proof gasket.
Available to professional buyers based upon lender credit history certifications. Legitimate just at taking part CAMPING globe areas. See dealership for details. Space where prohibited. Prices are inclusive of all offered discounts. Federal government fees, state taxes, dealer fees and exhausts testing fees as applicable will certainly be contributed to follow state automobile codes.
Painting Rv Exterior East Irvine, CA
Specs, devices, technical data, photographs and images are based on details available at time of publishing and are subject to transform without notice - East Irvine Motorhome Painting. Supply and floorplans differ by location, not all advertised producers available at getting involved suppliers.
May not be combined with any type of various other deal and not appropriate to prior sales. Deal(s) valid at any Camping Globe Motor Home Sales or FreedomRoads supplier just. See dealership for information.
All legal rights scheduled. FreedomRoads LLC, its relevant car dealerships and technology partners are exempt for typographical mistakes in cost or errors in summary of condition of a vehicle's recognized equipment, devices, rate or warranties. Any and all distinctions must be resolved prior to the sale of this car. Decision to offer a recreational vehicle despite rate is entirely identified by the selling supplier. * Ideal deal or $1,000 - deal must remain in creating and gotten from an accredited motor home supplier.
To obtain assured trade-in worth and/or assessment, car must remain in same or substantially the very same condition it was in sometimes of deal. All offers are subject to examination. $1,000 cash will certainly hurt in the kind of cash, check, or cash order. Not valid in LA or OR.
Motorhome Painting East Irvine, CA
Client should present legitimate purchasers order authorized by management of completing dealership and correct documentation outlining version year, make, brand, model, options, specs, shades, and vin # of advertised system. Purchasers order valid for thirty days from time of create up. Contending supplier will be any kind of qualified RV dealer as acknowledged by the State in which the supplier operates and is not a Camping Globe RV Sales or FreedomRoads supplier.
Any type of suitable trade-in needs to be revealed and offered assessment at time of request. Not suitable to previous sales. See dealership for details. Not legitimate in The golden state. Space where restricted.
Take a look at our past motorhome paint and body jobs, and set up an appointment with us today to! At our store, we provide and fix solutions for both motorized and towable trainers, including and repair work. It is very important to keep in mind that in some motorhomes, the windshield must be resealed every few years to preserve a leak-proof gasket.
Offered to certified buyers based upon lender credit credentials. Legitimate just at participating outdoor camping globe areas. See dealership for information. Void where forbidden. Prices are inclusive of all readily available price cuts. Federal government charges, state taxes, dealership charges and discharges screening charges as suitable will be included in adhere to state automobile codes.
Rv Painting Near Me East Irvine, CA
Requirements, tools, technological data, photos and images are based on information offered at time of posting and are subject to transform without notification. Stock and floorplans vary by location, not all advertised suppliers offered at participating dealers.
Might not be integrated with any various other offer and not applicable to previous sales. Deal(s) legitimate at any Outdoor camping Globe Motor Home Sales or FreedomRoads dealer just. See dealership for details. 2025 FreedomRoads, LLC. CAMPING globe and the Outdoor Camping globe Logo are signed up hallmarks of CWI, LLC. and made use of with authorization.
All civil liberties scheduled. FreedomRoads LLC, its associated dealerships and modern technology partners are exempt for typographical errors in rate or errors in summary of problem of a lorry's listed devices, accessories, cost or service warranties. Any kind of and all distinctions must be attended to prior to the sale of this lorry. Decision to market a motor home no matter cost is exclusively identified by the marketing dealer. * Ideal offer or $1,000 - offer should remain in composing and acquired from an accredited RV supplier.
Motorhome Painting Near Me East Irvine, CA
To receive ensured trade-in value and/or evaluation, lorry should be in exact same or significantly the exact same problem it was in at time of offer. All deals are subject to examination.
Customer needs to provide legitimate buyers order signed by management of completing dealer and correct documents detailing version year, make, brand, design, choices, specifications, colors, and vin # of advertised unit. Customers order legitimate for 30 days from time of write. Contending dealership will certainly be any type of qualified RV car dealership as identified by the State in which the dealership runs and is not an Outdoor Camping World RV Sales or FreedomRoads supplier.
Rv Painting Near Me East Irvine, CA
Any relevant trade-in must be disclosed and attended to appraisal at time of request. Not appropriate to previous sales. See dealer for details. Not valid in The golden state. Space where prohibited.
Have a look at our previous motorhome paint and body work, and set up an appointment with us today to! At our shop, we provide and repair solutions for both motorized and towable trains, consisting of and repairs. It is essential to keep in mind that in some motorhomes, the windscreen ought to be resealed every few years to preserve a watertight gasket.
Valid just at participating CAMPING WORLD locations. See dealer for details. Federal government costs, state taxes, dealer costs and exhausts testing fees as relevant will be added to abide with state lorry codes.
We have striven to make certain accuracy in the details given. New unit digital photography for picture functions only. Requirements, equipment, technological information, pictures and pictures are based on information available sometimes of publishing and undergo change without notice. Stock and floorplans differ by area, not all marketed producers available at getting involved suppliers.
Custom Rv Paint Jobs East Irvine, CA
Might not be integrated with any other deal and not appropriate to previous sales. Deal(s) valid at any Outdoor camping World Recreational Vehicle Sales or FreedomRoads dealer just. See dealership for details.
All rights reserved. FreedomRoads LLC, its related dealerships and technology companions are not accountable for typographical mistakes in cost or mistakes in summary of condition of a vehicle's listed tools, devices, rate or guarantees. Any kind of and all distinctions should be resolved prior to the sale of this lorry. Decision to sell a RV no matter cost is solely determined by the selling dealership. * Ideal deal or $1,000 - offer should be in writing and acquired from a qualified recreational vehicle supplier.
To get guaranteed trade-in value and/or evaluation, lorry must remain in exact same or substantially the same condition it was in sometimes of deal. All deals go through examination. $1,000 money will hurt in the type of money, check, or cash order. Not valid in LA or OR.
Customer must present legitimate purchasers order signed by management of competing supplier and appropriate documents detailing model year, make, brand, model, options, specs, colors, and vin # of advertised device. Purchasers order legitimate for thirty day from time of write. Contending supplier will certainly be any kind of certified RV dealer as identified by the State in which the dealer runs and is not an Outdoor Camping World Recreational Vehicle Sales or FreedomRoads supplier.
Rv Painting Near Me East Irvine, CA
OCRV Center
Address: 23281 La Palma Ave Yorba Linda, CA 92887Phone: (714) 909-1444
Email: [email protected]
OCRV Center
See supplier for details. Not legitimate in California.
Rv Paint Shops Near Me East Irvine, CARv Exterior Paint East Irvine, CA
Motorhome Custom Paint East Irvine, CA
Rv Paint East Irvine, CA
Motorhome Painting East Irvine, CA
Class A Rv Custom Paint And Repair East Irvine, CA
Rv Paint Job East Irvine, CA
Custom Motorhome Paint Jobs East Irvine, CA
Painting Rv Walls East Irvine, CA
Rv Exterior Paint East Irvine, CA
Painting Rv Walls East Irvine, CA
Class A Rv Custom Paint And Repair East Irvine, CA
Rv Paint Repair East Irvine, CA
Rv Painter East Irvine, CA
Motorhome Painting East Irvine, CA
Paint Rv East Irvine, CA
Paint Motorhome Exterior East Irvine, CA
Paint Rv East Irvine, CA
Motorhome Paint Repair East Irvine, CA
Paint Motorhome Exterior East Irvine, CA
Rv Paint East Irvine, CA
Rv Painter East Irvine, CA
Paint Fiberglass Rv East Irvine, CA
Motorhome Painting Near Me East Irvine, CA
Paint Rv East Irvine, CA
Painting An Rv East Irvine, CA
Paint Rv East Irvine, CA
Motorhome Custom Paint Jobs East Irvine, CA
Motorhome Painting Near Me East Irvine, CA
Painting Fiberglass Motorhome East Irvine, CA
Painting Fiberglass Motorhome East Irvine, CA
Class A Rv Custom Paint And Repair East Irvine, CA
Paint Motorhome Exterior East Irvine, CA
Painting Rv East Irvine, CA
Rv Paint Shops Near Me East Irvine, CA
Rv Painting East Irvine, CA
Motorhome Custom Paint East Irvine, CA
Painting Fiberglass Motorhome East Irvine, CA
Rv Painting Near Me East Irvine, CA
Painting Rv Exterior East Irvine, CA
Custom Rv Paint Jobs East Irvine, CA
Custom Motorhome Paint Jobs East Irvine, CA
Rv Painting East Irvine, CA
Custom Rv Paint Jobs East Irvine, CA
Rv Paint Repair East Irvine, CA
Painting Rv Walls East Irvine, CA
Rv Paint Shop Near Me East Irvine, CA
Rv Paint And Body Shops Near Me East Irvine, CA
Rv Paint Job East Irvine, CA
Rv Painter East Irvine, CA
Custom Rv Paint East Irvine, CA
Rv Paint East Irvine, CA
Rv Painting Near Me East Irvine, CA
Rv Paint And Repair East Irvine, CA
Motorhome Painting Near Me East Irvine, CA
Paint Rv East Irvine, CA
Rv Paint Shops Near Me East Irvine, CA
Painting An Rv East Irvine, CA
Custom Painted Motorhomes East Irvine, CA
Rv Paint East Irvine, CA
Rv Paint East Irvine, CA
Motorhome Custom Paint East Irvine, CA
Rv Paint Job East Irvine, CA
Motorhome Custom Paint Jobs East Irvine, CA
Rv Paint Shop Near Me East Irvine, CA
Class A Rv Custom Paint And Repair East Irvine, CA
Rv Painter East Irvine, CA
Rv Paint East Irvine, CA
Rv Paint And Body Shops Near Me East Irvine, CA
Custom Rv Paint East Irvine, CA
Motorhome Paint Shops East Irvine, CA
Painting An Rv East Irvine, CA
Painting Rv East Irvine, CA
Rv Painter East Irvine, CA
Painting Rv East Irvine, CA
Custom Motorhome Paint Jobs East Irvine, CA
Painting Rv East Irvine, CA
Painting Fiberglass Motorhome East Irvine, CA
Finding A Good Local Seo Marketing Agency East Irvine, CA
Near Me Seo Agency East Irvine, CA
OCRV Center
Table of Contents
- – Rv Paint East Irvine, CA
- – OCRV Center
- – Motorhome Paint Shops East Irvine, CA
- – Motorhome Custom Paint Jobs East Irvine, CA
- – Rv Paint And Repair East Irvine, CA
- – Class A Rv Custom Paint And Repair East Irvin...
- – Rv Paint Shops Near Me East Irvine, CA
- – Rv Painter East Irvine, CA
- – Painting Rv Exterior East Irvine, CA
- – Motorhome Painting East Irvine, CA
- – Rv Painting Near Me East Irvine, CA
- – Motorhome Painting Near Me East Irvine, CA
- – Rv Painting Near Me East Irvine, CA
- – Custom Rv Paint Jobs East Irvine, CA
- – Rv Painting Near Me East Irvine, CA
- – OCRV Center
Latest Posts
East Irvine Fleet Truck Repair
La Habra Travel Trailer Siding Repair
Rubber Roof Installation Riverside
More
Latest Posts
East Irvine Fleet Truck Repair
La Habra Travel Trailer Siding Repair
Rubber Roof Installation Riverside