All Categories
Featured
Table of Contents
- – Rv Paint Shops Near Me Fullerton, CA
- – OCRV Center
- – Paint Fiberglass Rv Fullerton, CA
- – Rv Paint Fullerton, CA
- – Painting Rv Fullerton, CA
- – Motorhome Custom Paint Jobs Fullerton, CA
- – Class A Rv Custom Paint And Repair Fullerton...
- – Custom Motorhome Paint Jobs Fullerton, CA
- – Motorhome Paint Shops Fullerton, CA
- – Rv Painting Fullerton, CA
- – Rv Painting Fullerton, CA
- – Rv Paint And Repair Fullerton, CA
- – Painting Fiberglass Motorhome Fullerton, CA
- – Rv Painting Near Me Fullerton, CA
- – Motorhome Painting Near Me Fullerton, CA
- – OCRV Center
Rv Paint Shops Near Me Fullerton, CA
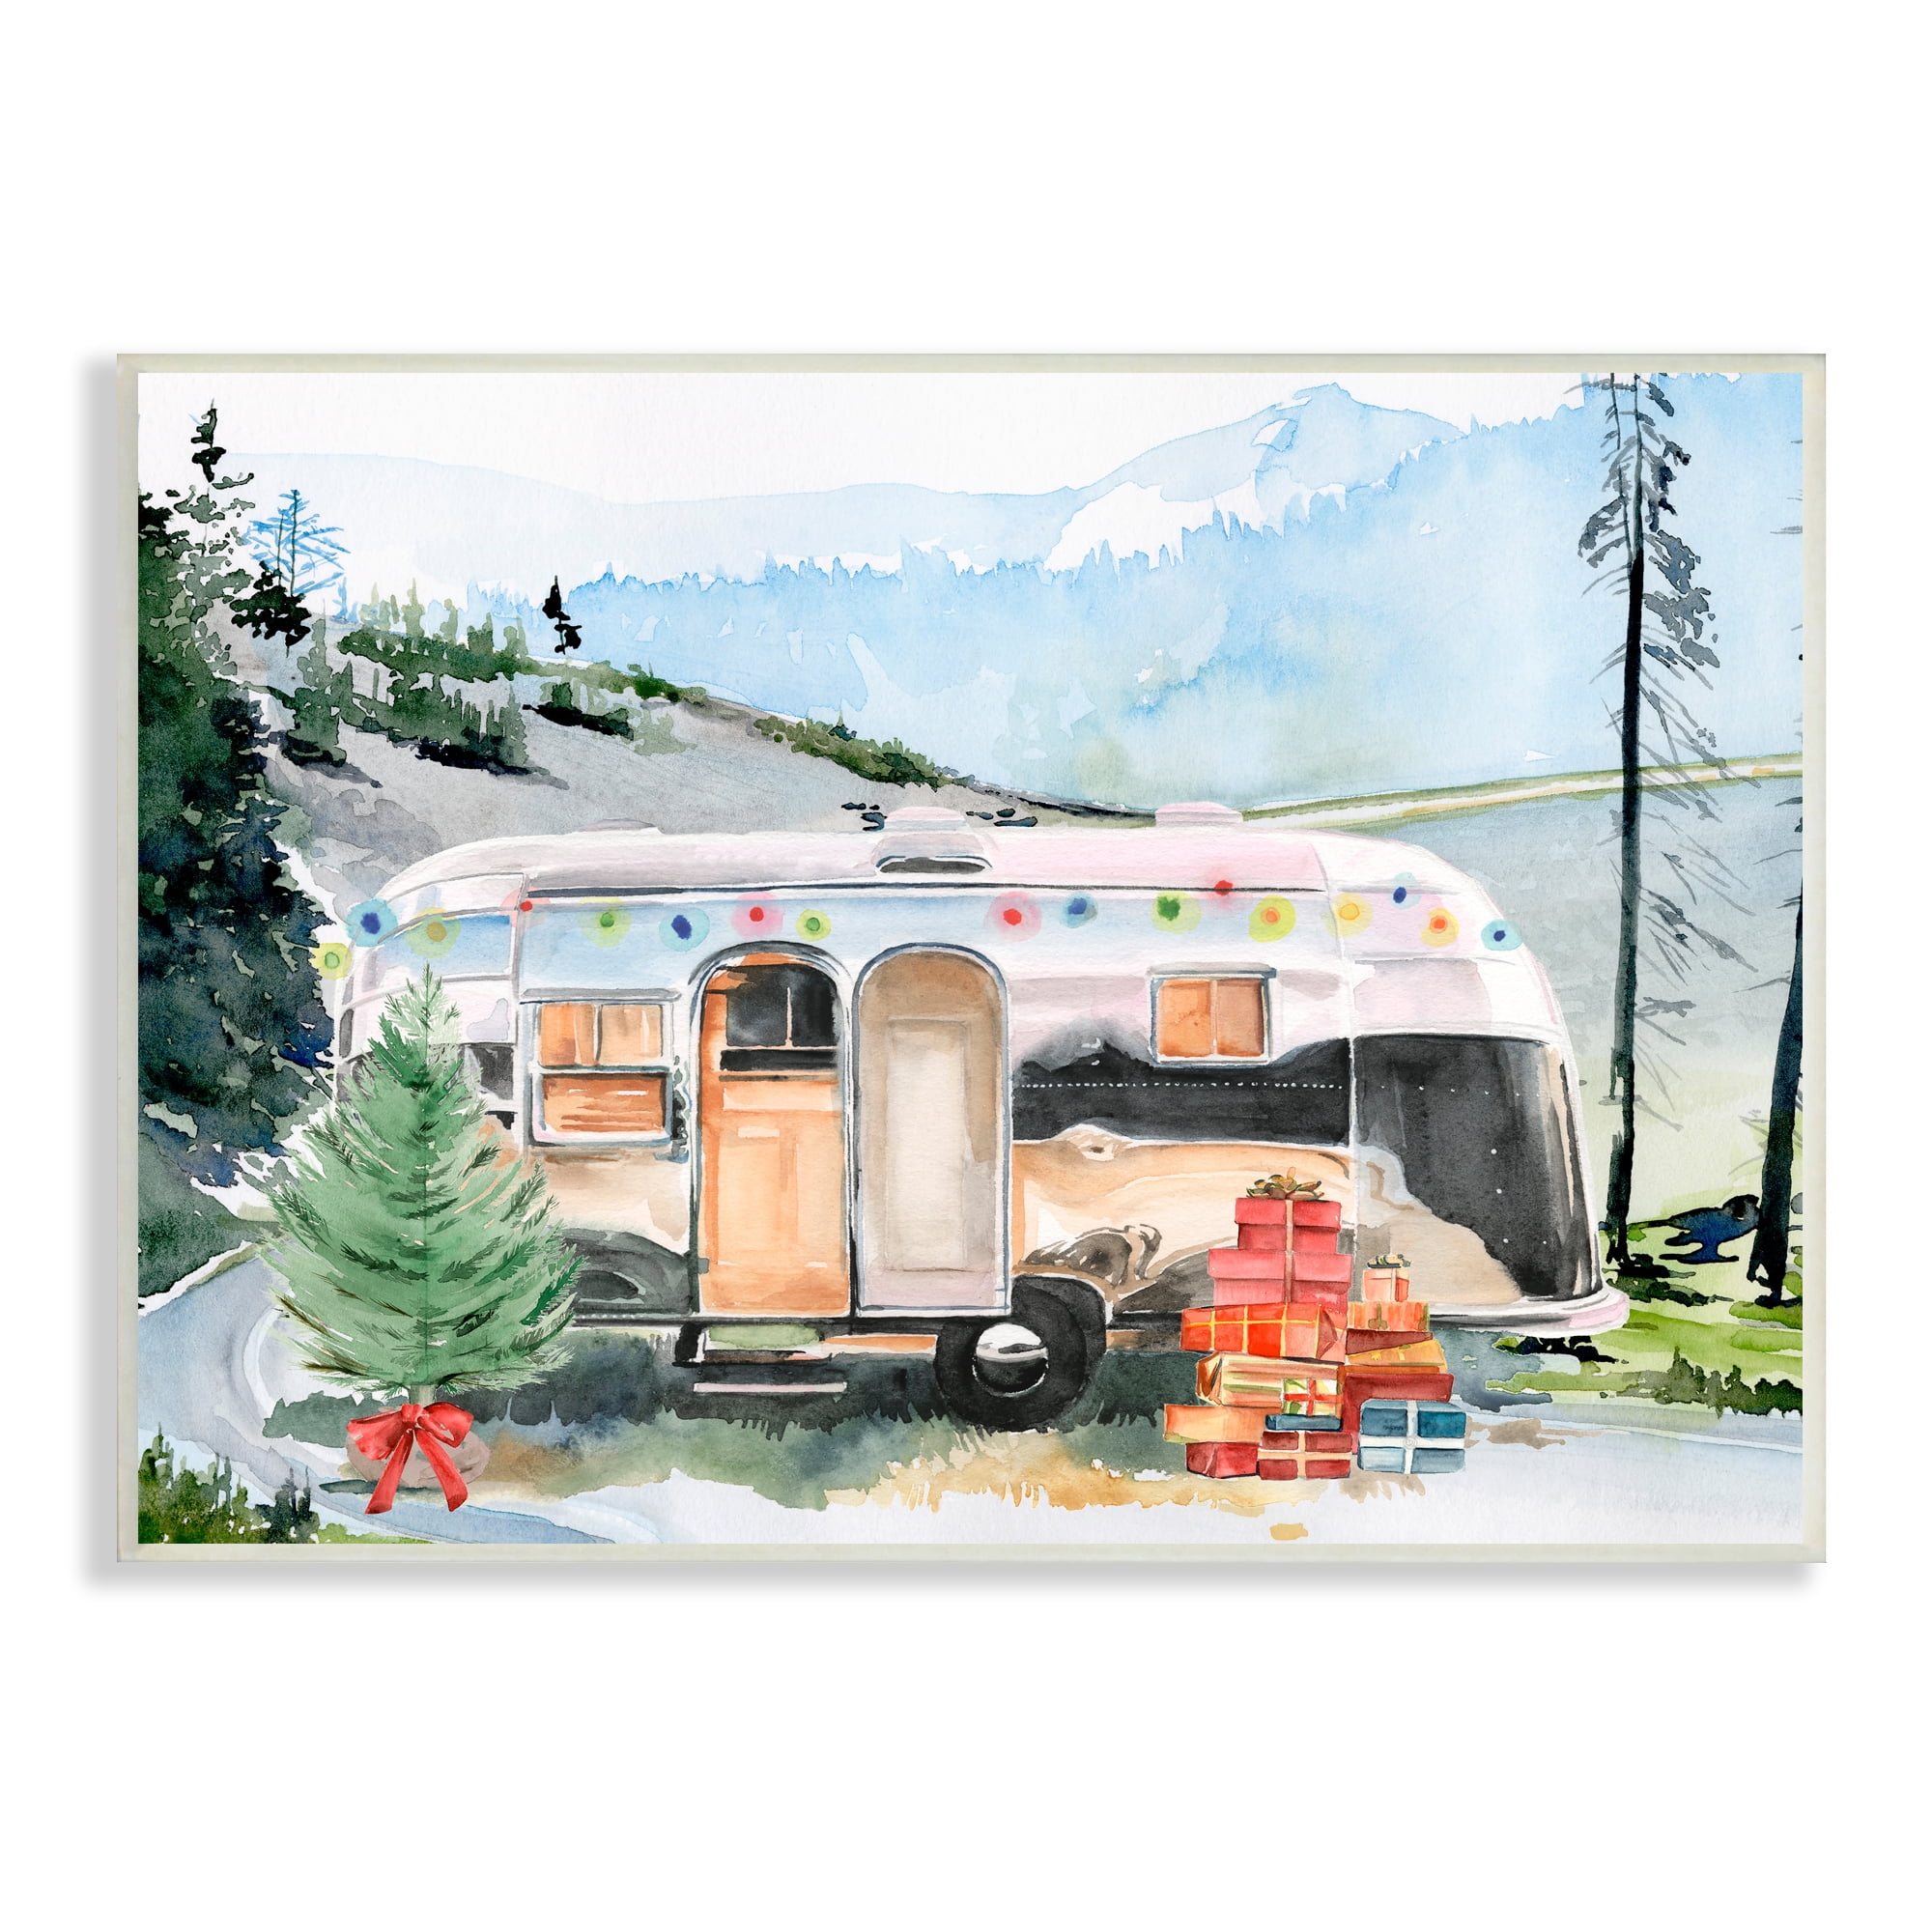
I'm also really satisfied with the paint we chose and just how we moved the designs. Let's obtain right into it, and hopefully you'll leave with some Recreational vehicle exterior paint concepts.
An expert RV outside paint work can conveniently cost $10,000, which might make good sense if you have a more recent or really expensive rig whose worth you wish to keep. For our 2007 Keystone Raptor, that type of investment really did not make good sense. You may be frightened by painting on such a big scale, but I'm below to tell you that if you can repaint a room and have a tall ladder, you can do this.
Paint Fiberglass Rv Fullerton, CA
The professionals might make use of marine epoxy or auto paint, which are the longest long lasting options. The drawbacks to these are that they're really expensive and come in limited shades.
We're virtually a year in (and we placed our gear through a great deal in Alaska!.?.!! ), and I more than happy to claim that there are just two quarter-sized high-use places that are cracking. We used 2 gallons of paint for the base coat and a number of quarts or paint samples for the attractive shades.
A specialist looking paint task needs excellent tools, so this is not a place you wish to cut corners. I took into consideration renting or purchasing a paint sprayer, however eventually determined to stick with paint rollers and brushes since I'm much more comfortable painting this way. It was a good decision because the surface came out just fine the way we did it.
Rv Paint Fullerton, CA
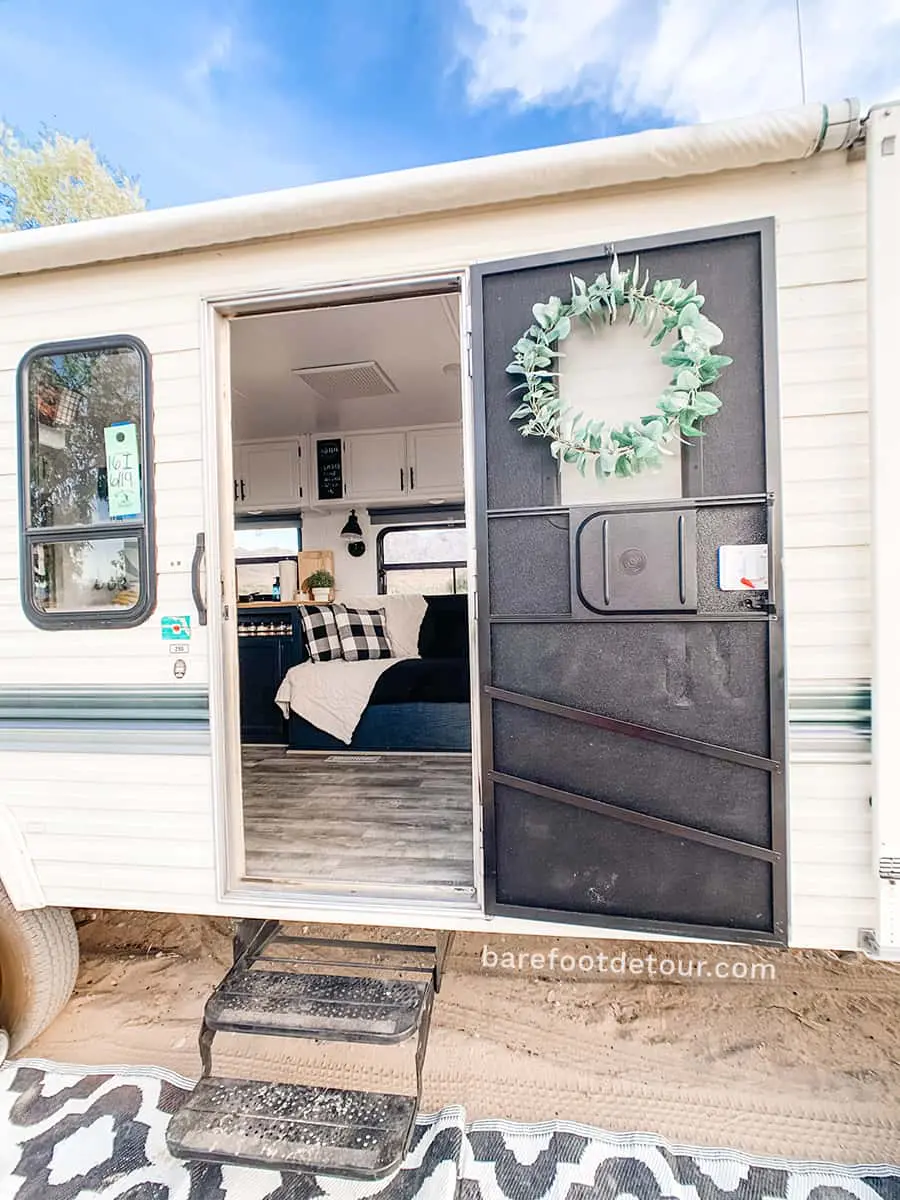
Here are the supplies we made use of: Here are the steps you'll require to take to finish your RV exterior paint task. It took us possibly 40 hours of home heating stickers that weren't cracked with a hair clothes dryer and peeling them off.
Re-caulk any joints that need it. Get your surface area as also as feasible. We didn't require to prime individually due to the fact that the paint we picked was 2-in-1.
You can see the small chips on the door (it's additionally extremely filthy from Alaska mud, however that's cleanable!): I actually hurt myself trying to decide whether to repaint our RV outside, and I am SO delighted that we did. I enjoy it, and we get many compliments. The means we did it might emphasize out the motor home outside paint purists, however I would certainly 100% do this again.
Painting Rv Fullerton, CA
Associate earnings aids fund our household traveling and enables me to maintain developing inspiring family members traveling web content for you. I so value when you utilize my links to make purchases you would certainly have made anyhow. For even more recreational vehicle renovation, right here are some various other messages you might such as:.
You can see the small chips on the door (it's additionally VERY unclean from Alaska mud, yet that's cleanable!): I truly tortured myself attempting to make a decision whether to repaint our RV exterior, and I am SO grateful that we did. I enjoy it, and we get so numerous compliments. The means we did it may stress the recreational vehicle exterior paint perfectionists, but I would 100% do this once again.
Motorhome Custom Paint Jobs Fullerton, CA
Associate earnings helps fund our household traveling and allows me to keep producing inspiring family members traveling content for you. I so value when you use my links to make purchases you would certainly have made anyhow. For even more recreational vehicle remodelling, right here are a few other messages you could like:.
You can see the small chips on the door (it's likewise really dirty from Alaska mud, however that's washable!): I really hurt myself trying to make a decision whether to repaint our recreational vehicle outside, and I am SO happy that we did. I enjoy it, and we get many praises. The means we did it could stress the RV outside paint purists, but I would 100% do this again.
Class A Rv Custom Paint And Repair Fullerton, CA
Affiliate income helps money our family travel and allows me to keep producing motivating household traveling material for you. I so value when you utilize my links to make acquisitions you would certainly have made anyway. For even more RV renovation, here are some various other posts you may such as:.
: I actually tortured myself trying to choose whether to repaint our RV exterior, and I am SO grateful that we did. The method we did it may worry out the Motor home exterior paint purists, yet I would 100% do this once again.
Custom Motorhome Paint Jobs Fullerton, CA
Associate earnings assists money our household traveling and enables me to maintain developing inspiring family travel web content for you. I so appreciate when you use my web links to make acquisitions you would have made anyway. For more recreational vehicle remodelling, right here are some other messages you could such as:.
You can see the small chips on the door (it's additionally really filthy from Alaska mud, however that's cleanable!): I truly tortured myself attempting to choose whether to repaint our RV exterior, and I am SO happy that we did. I LOVE it, and we get a lot of praises. The means we did it might emphasize out the RV exterior paint purists, yet I would 100% do this again.
Associate earnings aids fund our family members traveling and allows me to keep creating inspiring household traveling content for you. I so appreciate when you use my links to make acquisitions you would certainly have made anyway. For even more recreational vehicle remodelling, right here are some other blog posts you may such as:.
Motorhome Paint Shops Fullerton, CA
: I actually hurt myself trying to choose whether to repaint our Recreational vehicle exterior, and I am SO happy that we did. The way we did it may emphasize out the RV exterior paint perfectionists, however I would 100% do this once again.
Associate revenue assists money our family members traveling and enables me to keep producing motivating family members traveling web content for you. I so value when you use my web links to make acquisitions you would certainly have made anyway. For more motor home remodelling, right here are a few other messages you could such as:.
: I truly hurt myself attempting to decide whether to paint our RV outside, and I am SO delighted that we did. The method we did it may stress out the Recreational vehicle outside paint perfectionists, but I would certainly 100% do this again.
Associate revenue helps money our family traveling and allows me to keep creating inspiring household travel content for you. I so appreciate when you use my links to make purchases you would certainly have made anyway. For more motor home renovation, right here are some various other blog posts you might such as:.
Rv Painting Fullerton, CA
You can see the tiny chips on the door (it's likewise VERY dirty from Alaska mud, but that's cleanable!): I actually hurt myself attempting to choose whether to paint our RV outside, and I am SO delighted that we did. I like it, and we get many compliments. The means we did it might burn out the RV outside paint purists, yet I would certainly 100% do this once again.
Affiliate earnings assists fund our family members traveling and permits me to maintain developing inspiring household traveling content for you. I so value when you utilize my links to make purchases you would certainly have made anyway. For even more recreational vehicle renovation, right here are some other articles you might like:.
: I actually tortured myself trying to choose whether to repaint our Motor home exterior, and I am SO happy that we did. The method we did it might stress out the Recreational vehicle exterior paint purists, however I would 100% do this once again.
Rv Painting Fullerton, CA
Associate income assists fund our family members traveling and enables me to maintain developing motivating family traveling web content for you. I so appreciate when you use my web links to make purchases you would certainly have made anyhow. For more RV renovation, here are some various other blog posts you may such as:.
: I truly hurt myself trying to decide whether to repaint our Motor home exterior, and I am SO thankful that we did. The means we did it may stress out the Recreational vehicle outside paint purists, however I would certainly 100% do this once more.
Rv Paint And Repair Fullerton, CA
Affiliate earnings assists money our family travel and allows me to maintain creating motivating family traveling web content for you. I so appreciate when you use my web links to make purchases you would have made anyway. For more recreational vehicle restoration, here are a few other posts you may such as:.
: I really hurt myself attempting to choose whether to repaint our Recreational vehicle outside, and I am SO happy that we did. The means we did it might worry out the RV outside paint perfectionists, however I would 100% do this once more.
Associate revenue helps money our household traveling and permits me to maintain creating inspiring household traveling content for you. I so appreciate when you utilize my links to make acquisitions you would have made anyway. For even more recreational vehicle improvement, right here are some other messages you could like:.
You can see the small chips on the door (it's additionally VERY dirty from Alaska mud, but that's cleanable!): I truly tortured myself trying to choose whether to repaint our recreational vehicle exterior, and I am SO happy that we did. I enjoy it, and we obtain numerous praises. The means we did it might stress out the recreational vehicle outside paint perfectionists, but I would 100% do this once more.
Painting Fiberglass Motorhome Fullerton, CA
Affiliate income helps fund our family members travel and permits me to maintain developing inspiring family traveling web content for you. I so appreciate when you use my web links to make purchases you would have made anyhow. For more motor home renovation, here are a few other messages you could like:.
: I actually tortured myself attempting to decide whether to paint our Recreational vehicle outside, and I am SO delighted that we did. The method we did it could stress out the RV outside paint perfectionists, but I would certainly 100% do this once more.
Rv Painting Near Me Fullerton, CA
Associate revenue helps money our family members travel and permits me to maintain producing motivating family members traveling content for you. I so appreciate when you utilize my web links to make acquisitions you would certainly have made anyway. For more RV remodelling, below are a few other blog posts you might such as:.
: I actually tortured myself attempting to determine whether to repaint our Recreational vehicle outside, and I am SO delighted that we did. The way we did it may worry out the RV exterior paint perfectionists, but I would certainly 100% do this once again.
Associate revenue aids fund our household travel and allows me to keep creating motivating family members traveling content for you. I so appreciate when you utilize my links to make purchases you would certainly have made anyhow. For even more recreational vehicle remodelling, below are a few other articles you could such as:.
Motorhome Painting Near Me Fullerton, CA
: I actually tortured myself trying to choose whether to paint our Motor home exterior, and I am SO delighted that we did. The way we did it might stress out the Motor home outside paint perfectionists, however I would certainly 100% do this once more.
OCRV Center
Address: 23281 La Palma Ave Yorba Linda, CA 92887Phone: (714) 909-1444
Email: [email protected]
OCRV Center
Affiliate earnings helps money our family travel and allows me to maintain producing motivating family members travel material for you. I so value when you use my web links to make acquisitions you would certainly have made anyway. For even more motor home remodelling, here are a few other messages you could like:.
Motorhome Custom Paint Fullerton, CARv Paint Shop Near Me Fullerton, CA
Rv Painting Near Me Fullerton, CA
Custom Motorhome Paint Jobs Fullerton, CA
Rv Paint Repair Fullerton, CA
Painting Rv Fullerton, CA
Painting Rv Fullerton, CA
Painting Rv Fullerton, CA
Custom Rv Paint Jobs Fullerton, CA
Rv Paint Shops Near Me Fullerton, CA
Rv Paint And Body Shops Near Me Fullerton, CA
Class A Rv Custom Paint And Repair Fullerton, CA
Rv Paint Repair Fullerton, CA
Rv Exterior Paint Fullerton, CA
Rv Paint And Body Shops Near Me Fullerton, CA
Rv Paint Shops Near Me Fullerton, CA
Rv Paint And Repair Fullerton, CA
Rv Exterior Paint Fullerton, CA
Motorhome Painting Fullerton, CA
Motorhome Paint Shops Fullerton, CA
Painting Fiberglass Motorhome Fullerton, CA
Rv Painting Near Me Fullerton, CA
Custom Motorhome Paint Jobs Fullerton, CA
Paint Motorhome Exterior Fullerton, CA
Paint Motorhome Exterior Fullerton, CA
Class A Rv Custom Paint And Repair Fullerton, CA
Rv Painter Fullerton, CA
Rv Exterior Paint Fullerton, CA
Motorhome Paint Repair Fullerton, CA
Paint Motorhome Exterior Fullerton, CA
Rv Paint Shop Near Me Fullerton, CA
Rv Paint Fullerton, CA
Rv Painter Fullerton, CA
Paint Fiberglass Rv Fullerton, CA
Rv Painter Fullerton, CA
Rv Paint Job Fullerton, CA
Paint Motorhome Exterior Fullerton, CA
Custom Rv Paint Jobs Fullerton, CA
Painting Fiberglass Motorhome Fullerton, CA
Custom Rv Paint Jobs Fullerton, CA
Rv Painter Fullerton, CA
Motorhome Painting Near Me Fullerton, CA
Motorhome Custom Paint Jobs Fullerton, CA
Rv Painting Near Me Fullerton, CA
Paint Rv Fullerton, CA
Class A Rv Custom Paint And Repair Fullerton, CA
Paint Rv Fullerton, CA
Motorhome Paint Shops Fullerton, CA
Motorhome Painting Near Me Fullerton, CA
Custom Rv Paint Fullerton, CA
Rv Painter Fullerton, CA
Class A Rv Custom Paint And Repair Fullerton, CA
Paint Motorhome Exterior Fullerton, CA
Rv Paint Job Fullerton, CA
Paint Rv Fullerton, CA
Painting Rv Exterior Fullerton, CA
Painting An Rv Fullerton, CA
Rv Exterior Paint Fullerton, CA
Rv Paint And Body Shops Near Me Fullerton, CA
Motorhome Custom Paint Fullerton, CA
Motorhome Painting Near Me Fullerton, CA
Paint Rv Fullerton, CA
Rv Painter Fullerton, CA
Custom Rv Paint Jobs Fullerton, CA
Rv Painter Fullerton, CA
Custom Rv Paint Fullerton, CA
Motorhome Paint Shops Fullerton, CA
Rv Paint And Repair Fullerton, CA
Custom Painted Motorhomes Fullerton, CA
Rv Paint Repair Fullerton, CA
Paint Fiberglass Rv Fullerton, CA
Painting An Rv Fullerton, CA
Rv Paint Shops Near Me Fullerton, CA
Motorhome Paint Shops Fullerton, CA
Custom Painted Motorhomes Fullerton, CA
Painting Rv Exterior Fullerton, CA
Custom Motorhome Paint Jobs Fullerton, CA
Painting An Rv Fullerton, CA
Near Here Seo Marketing Fullerton, CA
Finding A Seo Optimization Fullerton, CA
OCRV Center
Table of Contents
- – Rv Paint Shops Near Me Fullerton, CA
- – OCRV Center
- – Paint Fiberglass Rv Fullerton, CA
- – Rv Paint Fullerton, CA
- – Painting Rv Fullerton, CA
- – Motorhome Custom Paint Jobs Fullerton, CA
- – Class A Rv Custom Paint And Repair Fullerton...
- – Custom Motorhome Paint Jobs Fullerton, CA
- – Motorhome Paint Shops Fullerton, CA
- – Rv Painting Fullerton, CA
- – Rv Painting Fullerton, CA
- – Rv Paint And Repair Fullerton, CA
- – Painting Fiberglass Motorhome Fullerton, CA
- – Rv Painting Near Me Fullerton, CA
- – Motorhome Painting Near Me Fullerton, CA
- – OCRV Center
Latest Posts
Placentia Rv Electrical Repair
Swamp Cooler Motor Repair San Gabriel
Alhambra Heating Maintenance Services
More
Latest Posts
Placentia Rv Electrical Repair
Swamp Cooler Motor Repair San Gabriel
Alhambra Heating Maintenance Services